Judy Eckhardt was a member of our class in Guelph earlier this year. I have pleasure in sharing some of her work with you. Judy teaches machine embroidery and quilting but had not been using hand stitching creatively. This class was an opportunity for her to become acquainted with the huge variety of embroidery stitches.
All her pieces were stitched on fine handkerchief linen which she dyed herself. She used Treenway Silk threads wherever possible adding DMC Floss to add a needed colour. She made her pieces into an accordion book.
Blue is Judy’s favourite creative colour and, like Barbara Lee, she chose the challenge of working predominantly with blue on blue plus other colours in a congruent range of tones.
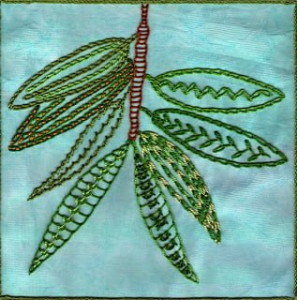
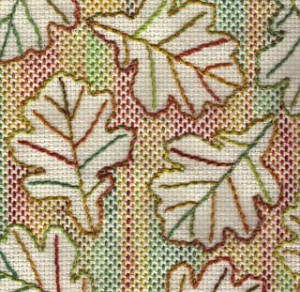
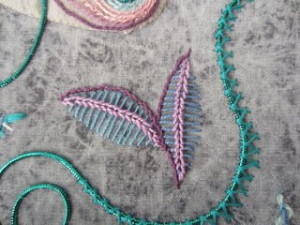
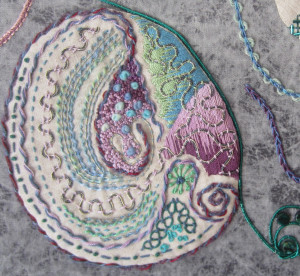
Chain Stitch and Variations plus Sorbello Stitch and Split Stitch
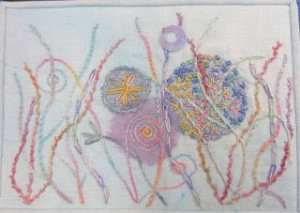
Chain Stitch, Sorbello Stitch and Split Stitch
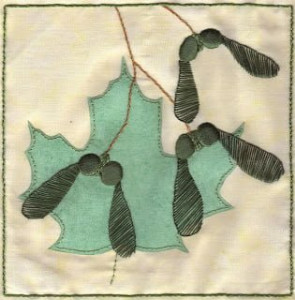
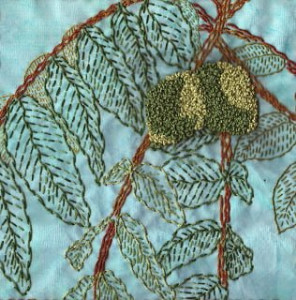
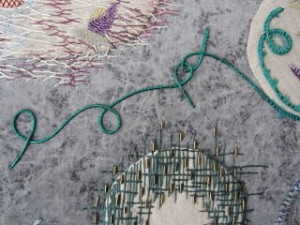
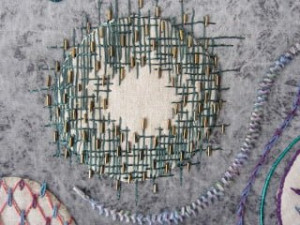
Cross Stitch, Stem Stitch, Outline Stitch and Turkey Work
You can see on this one how Judy finished her pieces and assembled them into a book.
Cross Stitch, Stem Stitch, Outline Stitch
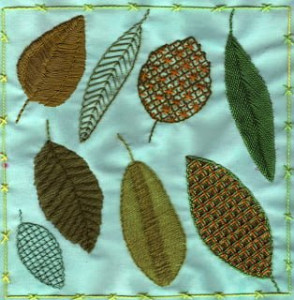
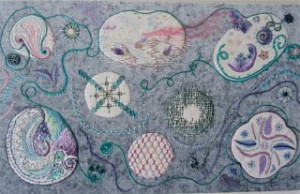
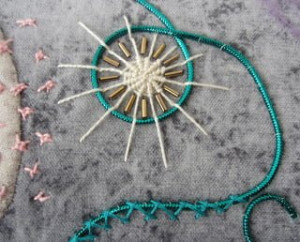
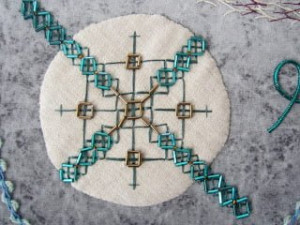
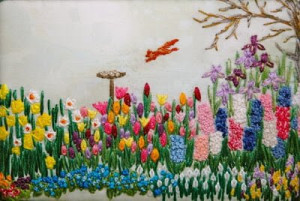
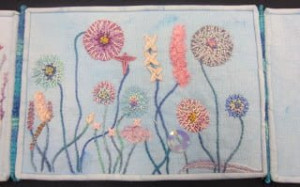
Spider Wheels, Couching and Herringbone Stitch

Spider Wheels, Couching and Herringbone Stitch
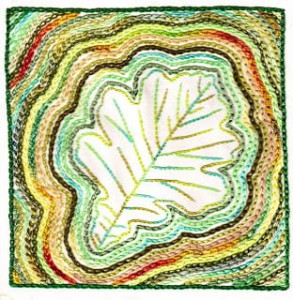
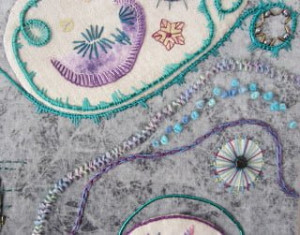
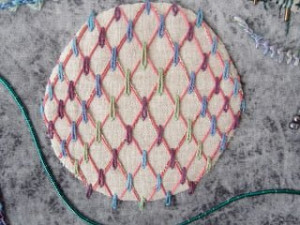
The back cover of the book features Trellis Work and French Knots
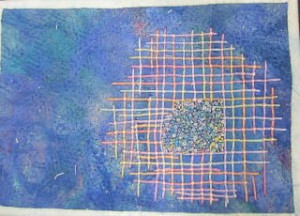
Trellis Work and French Knots
To my surprise, Judy used no machine embroidery anywhere in this project.